Creative
Customizable Trading Card: A How-To Guide
In Spring of 2026 I started learning how to glove, a form of finger dancing for EDM raves and festivals. I created my own trading cards to give out to people who share that light show moment with me.
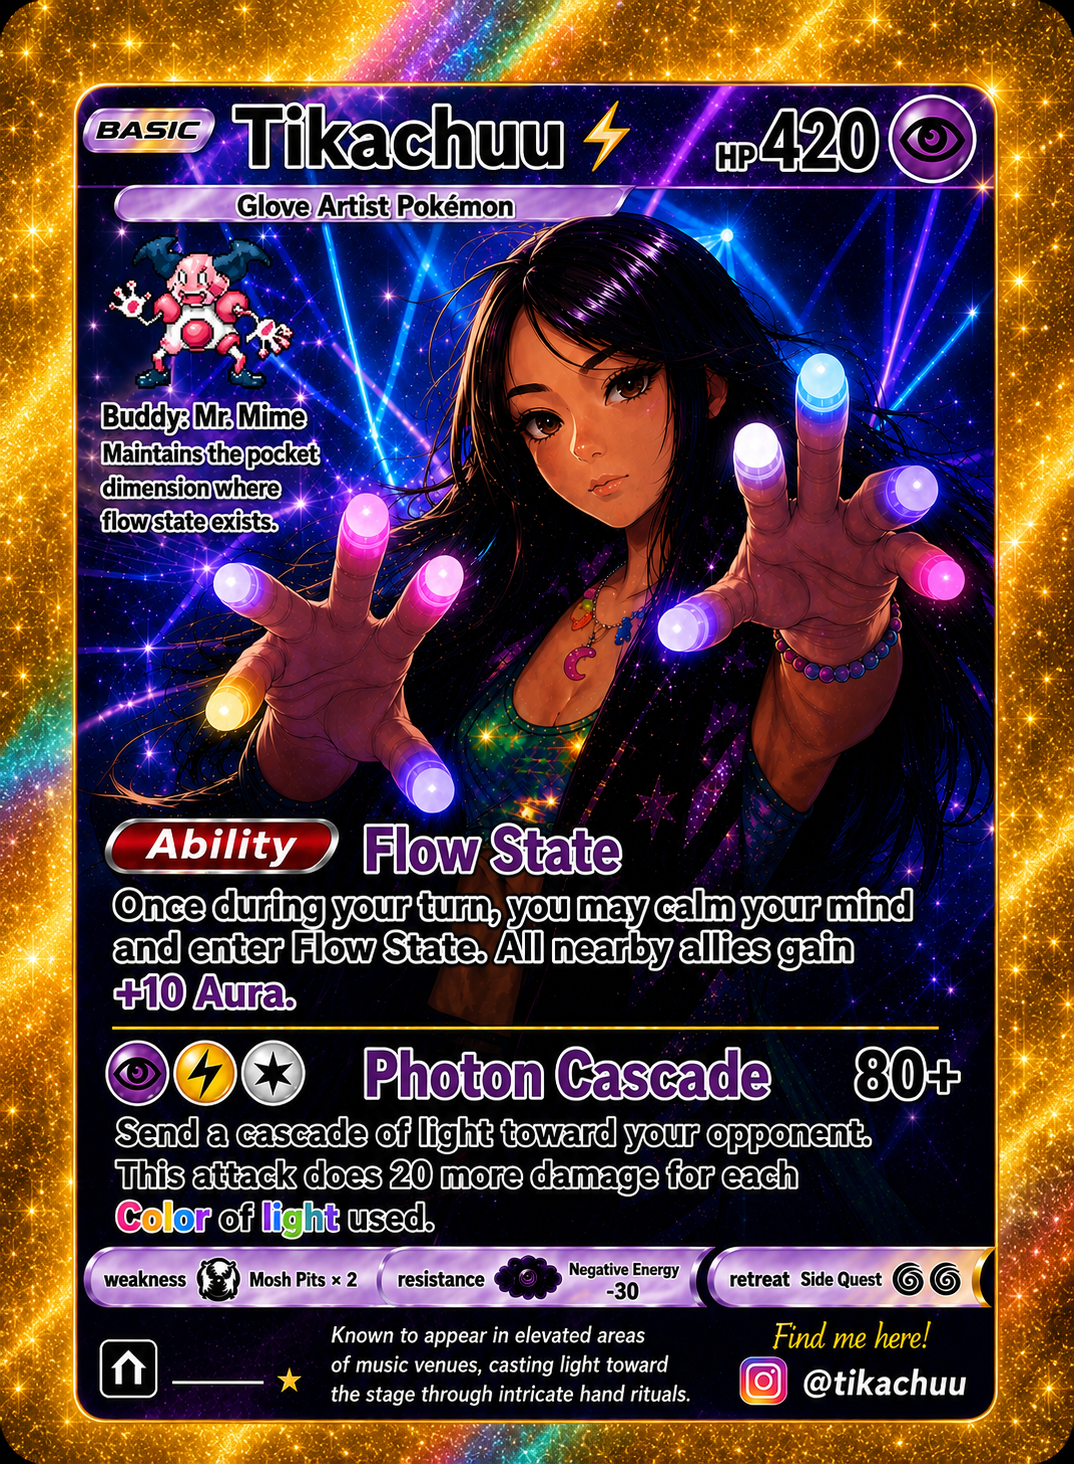
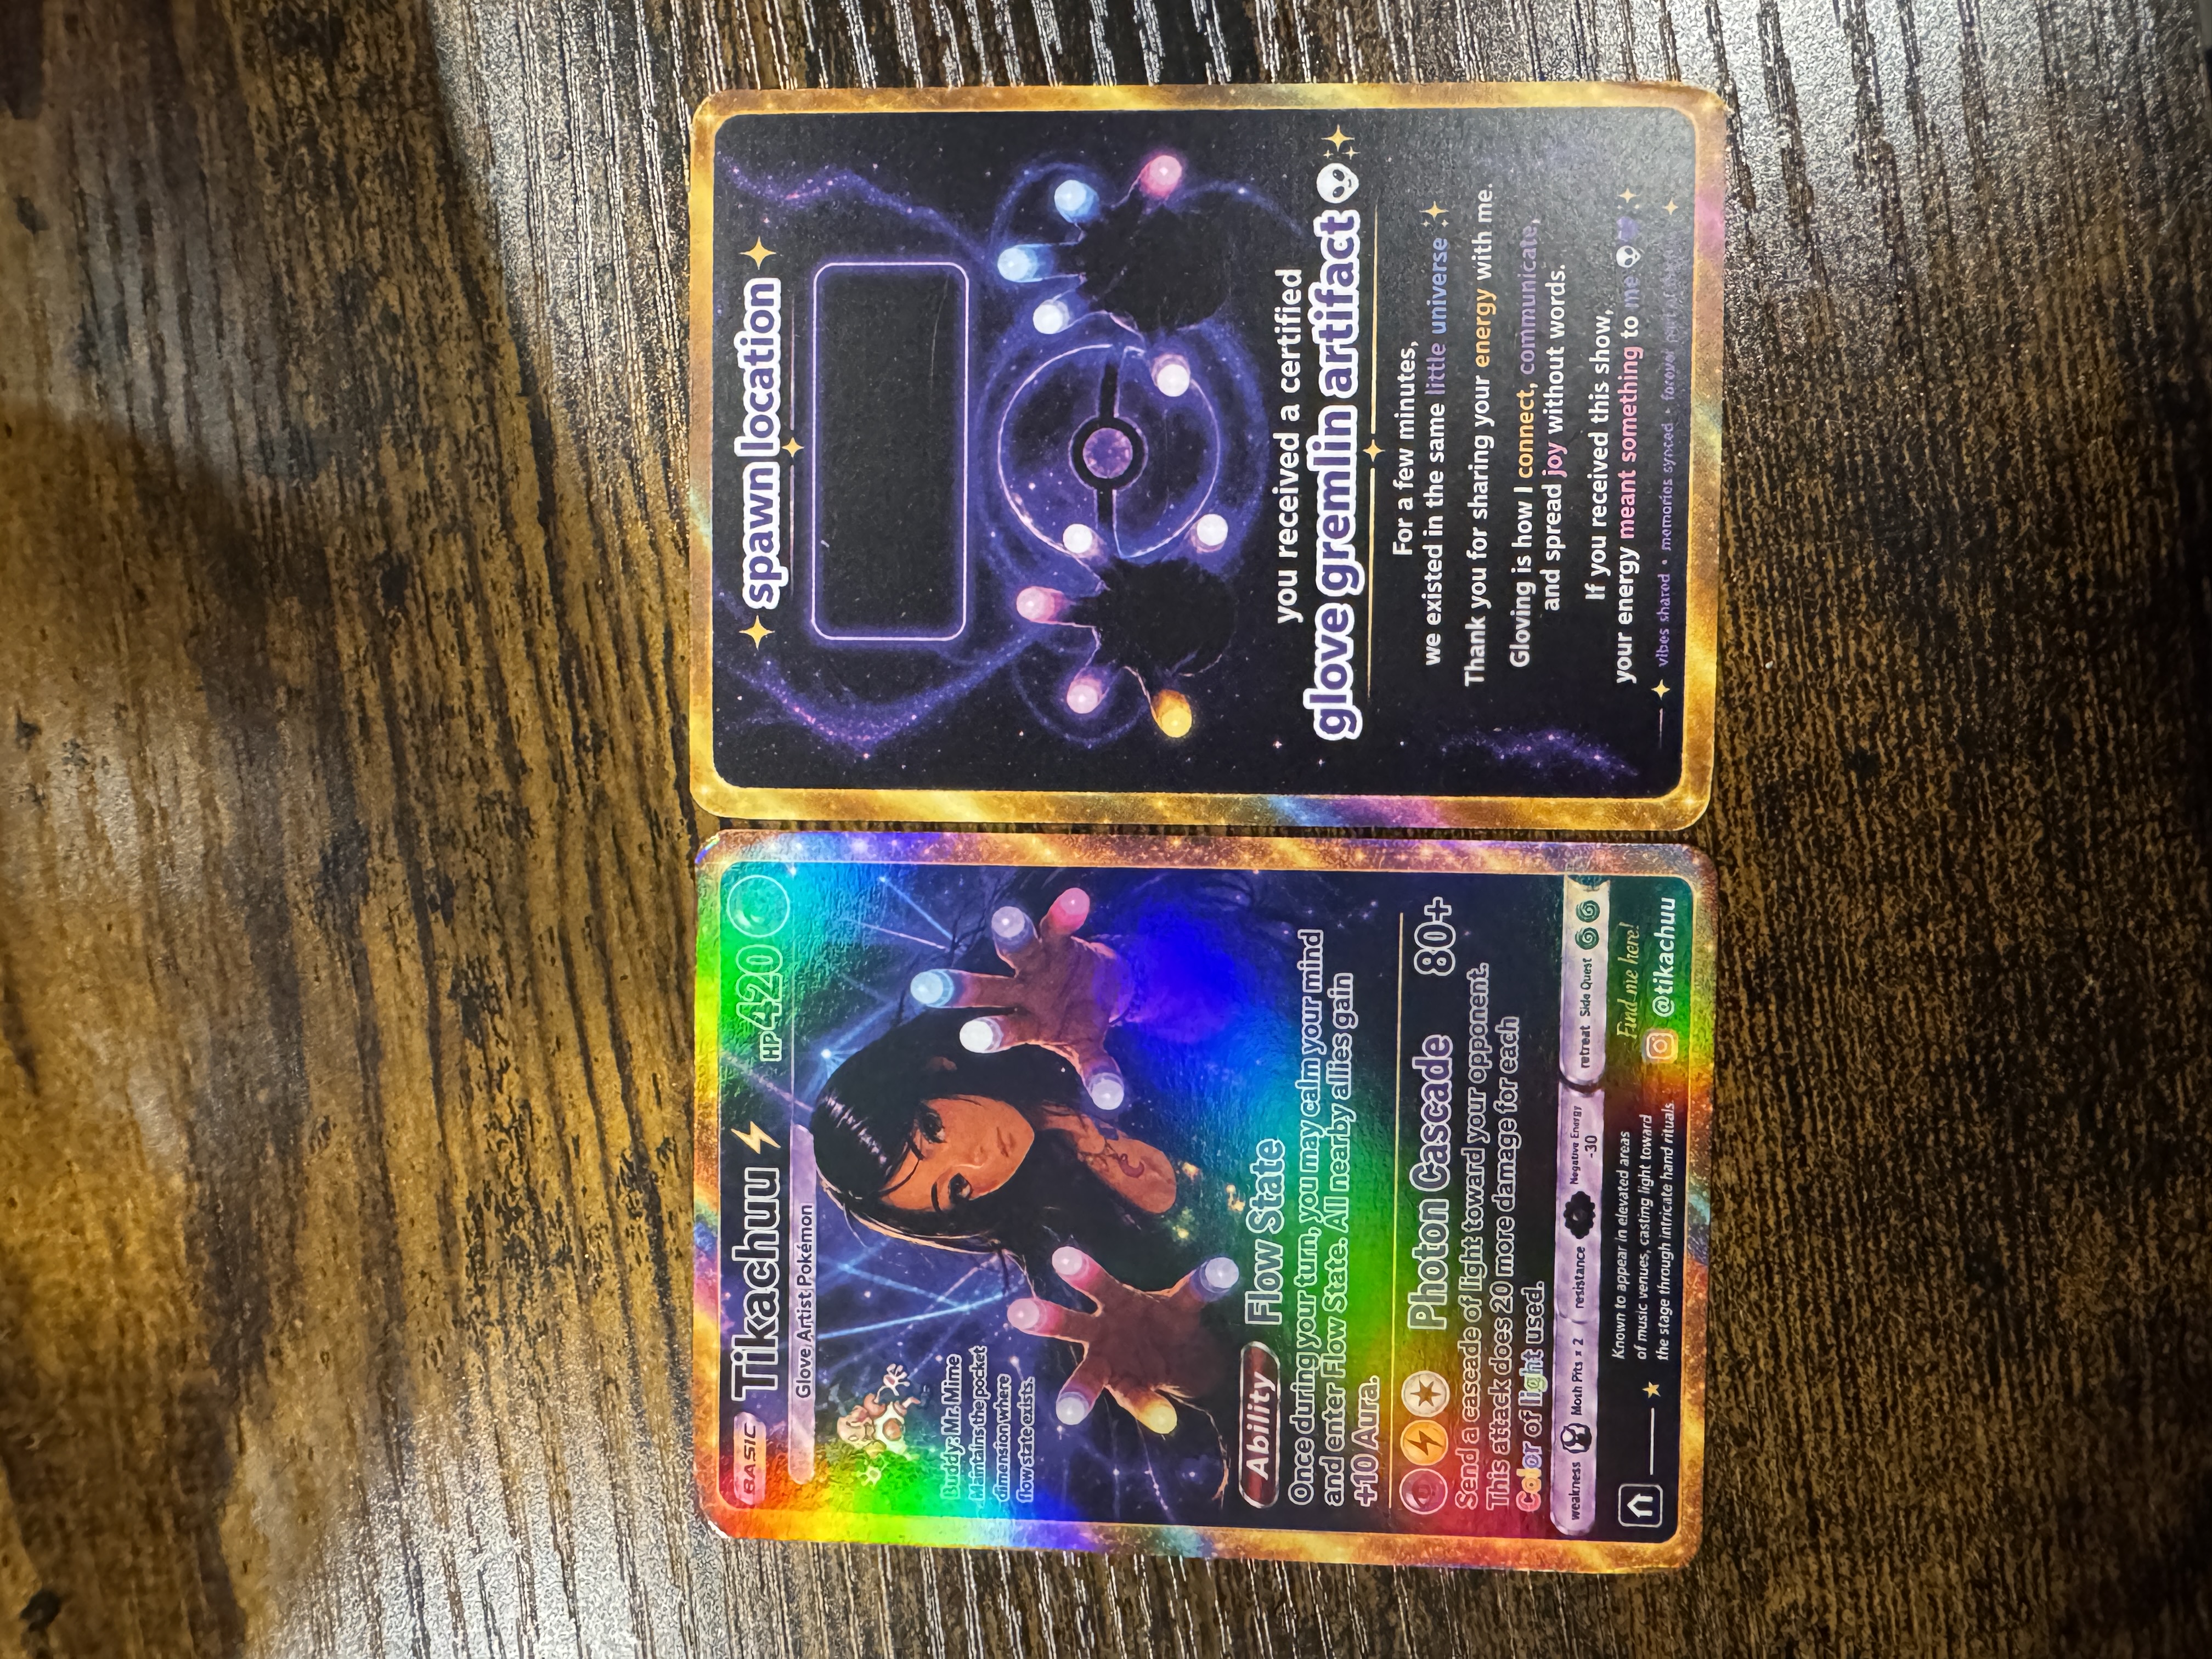
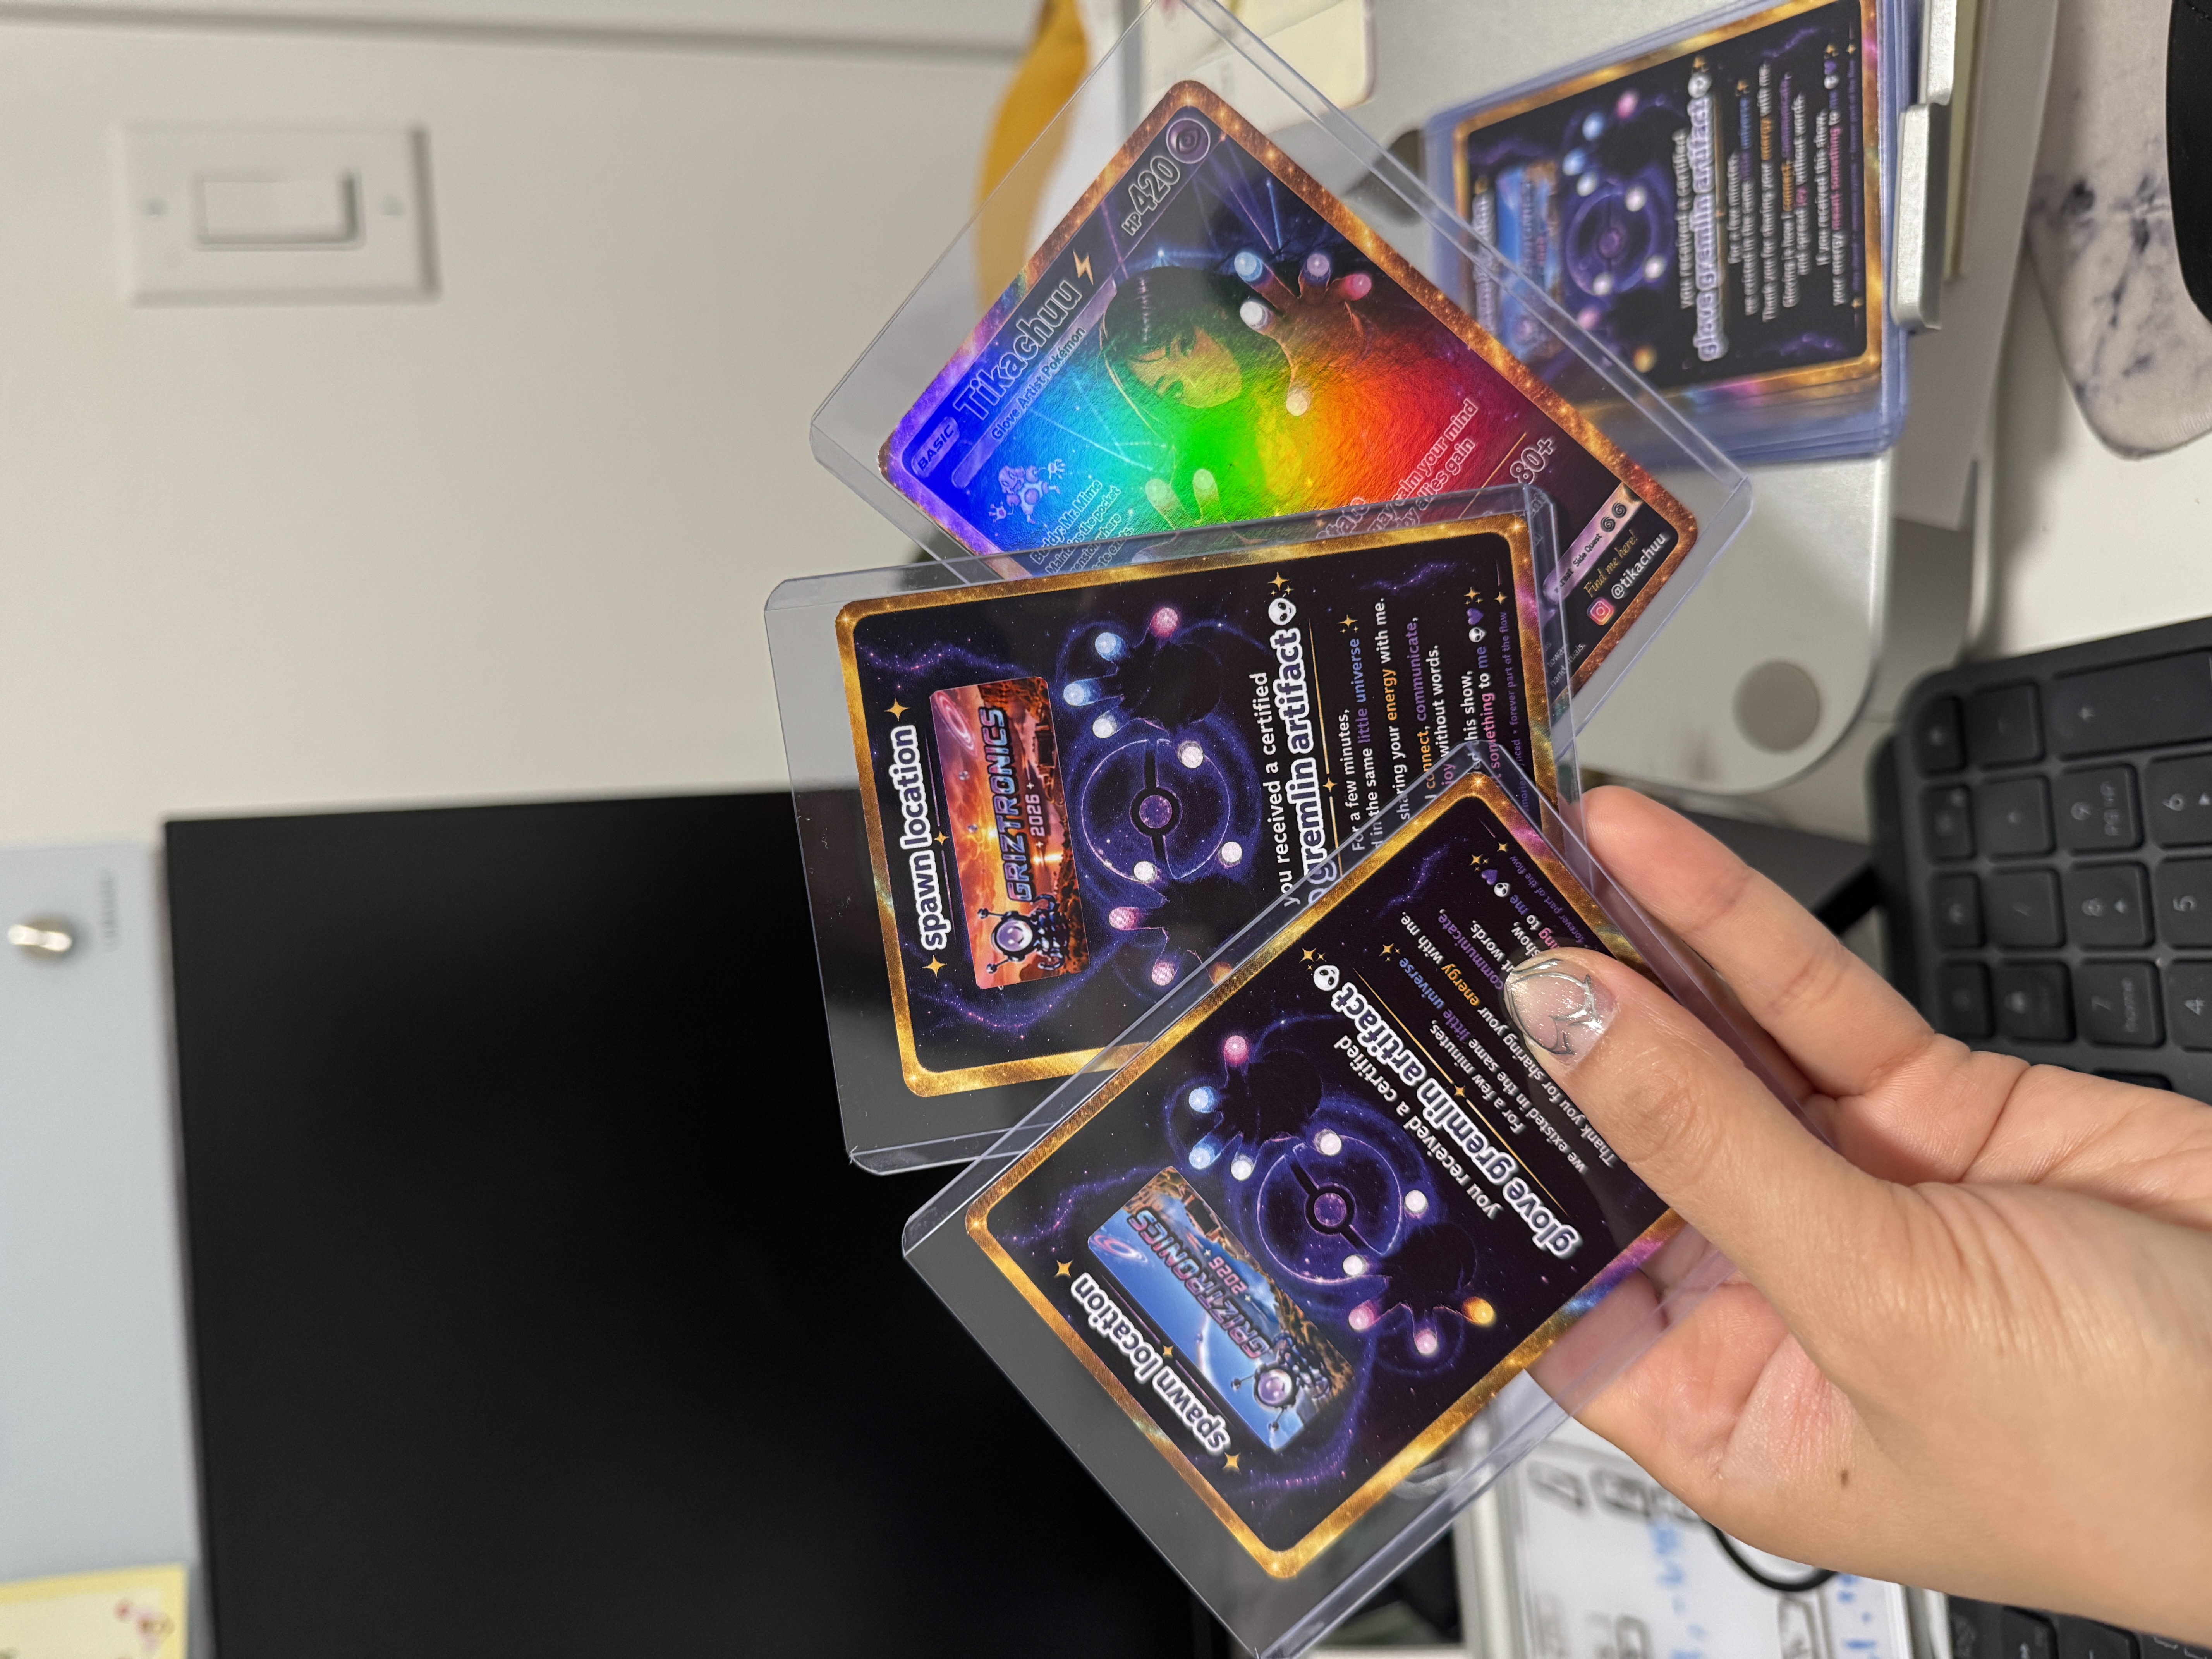
I've found a lot of joy giving and receiving light shows. To me, gloving is a form of art that builds connection between the glover and receiver. The interaction shared between a glover and the show receiver means a lot to me, so I created my own trading cards to give out to people who share this moment with me.
How to Create Your Own Custom Trading Card with ChatGPT
Before You Start: Card Specs
- Final card size: 2.5" × 3.5" (63 × 88 mm)
- Orientation: Portrait
- Corners: Rounded; my finished cards used a 1/8" corner radius
- Printing: Full-color front and custom full-color back
- Material: High-quality cardstock
- Finish: Holographic or foil, if you want the collectible feel
Tell ChatGPT the final size from the beginning. My first artwork came back at 2.34" × 3.32", which meant the printer could not proportionally scale it to the standard trading card size.
Step 1: Share your idea and upload photos
Start by telling ChatGPT what kind of trading card you want to make. To create artwork that resembles you, upload a few clear photos of yourself from different angles. Include the outfit, accessories, hairstyle, gloves, or motifs you want featured on the card.
I want to create a custom trading card of myself. I've uploaded a few reference photos to use for my likeness. The finished card will be professionally printed at 2.5" × 3.5" in portrait orientation with rounded corners, so please design everything for that exact aspect ratio. Help me design it in the style of a fun collectible character card with original artwork and layout. Ask me for any details you need.
Step 2: Provide your character details
Tell ChatGPT what you want on the card.
Here are my card details:
- Name:
- Nickname:
- HP:
- Type or theme:
- Ability:
- Main move:
- Personality or flavor text:
- Favorite colors:
- Accessories or motifs I want included (gloves, kandi, flowers, lasers, etc.):
- Social handle or QR code:
You do not need to know every ability or move up front. This is one of the best places to ask ChatGPT to brainstorm names, descriptions, and playful details with you.
Step 3: Generate the first draft
Please create the front of my trading card using my reference photos and the details we came up with. Keep the final 2.5" × 3.5" portrait proportions in mind. Make it colorful, playful, detailed, and feel like a premium collectible.
Step 4: Iterate until you're happy
Don't worry about getting everything perfect on the first try. Make small adjustments one at a time.
- Can you make the colors brighter and more vibrant?
- Can you make the text easier to read?
- Can you make the background more detailed?
- Can you make the character larger and the decorative elements less distracting?
- Can you make the overall design feel more magical and energetic?
Small iterations are easier to control than one giant list of fixes. If you love everything except the border, say that clearly and ask ChatGPT to change only the border.
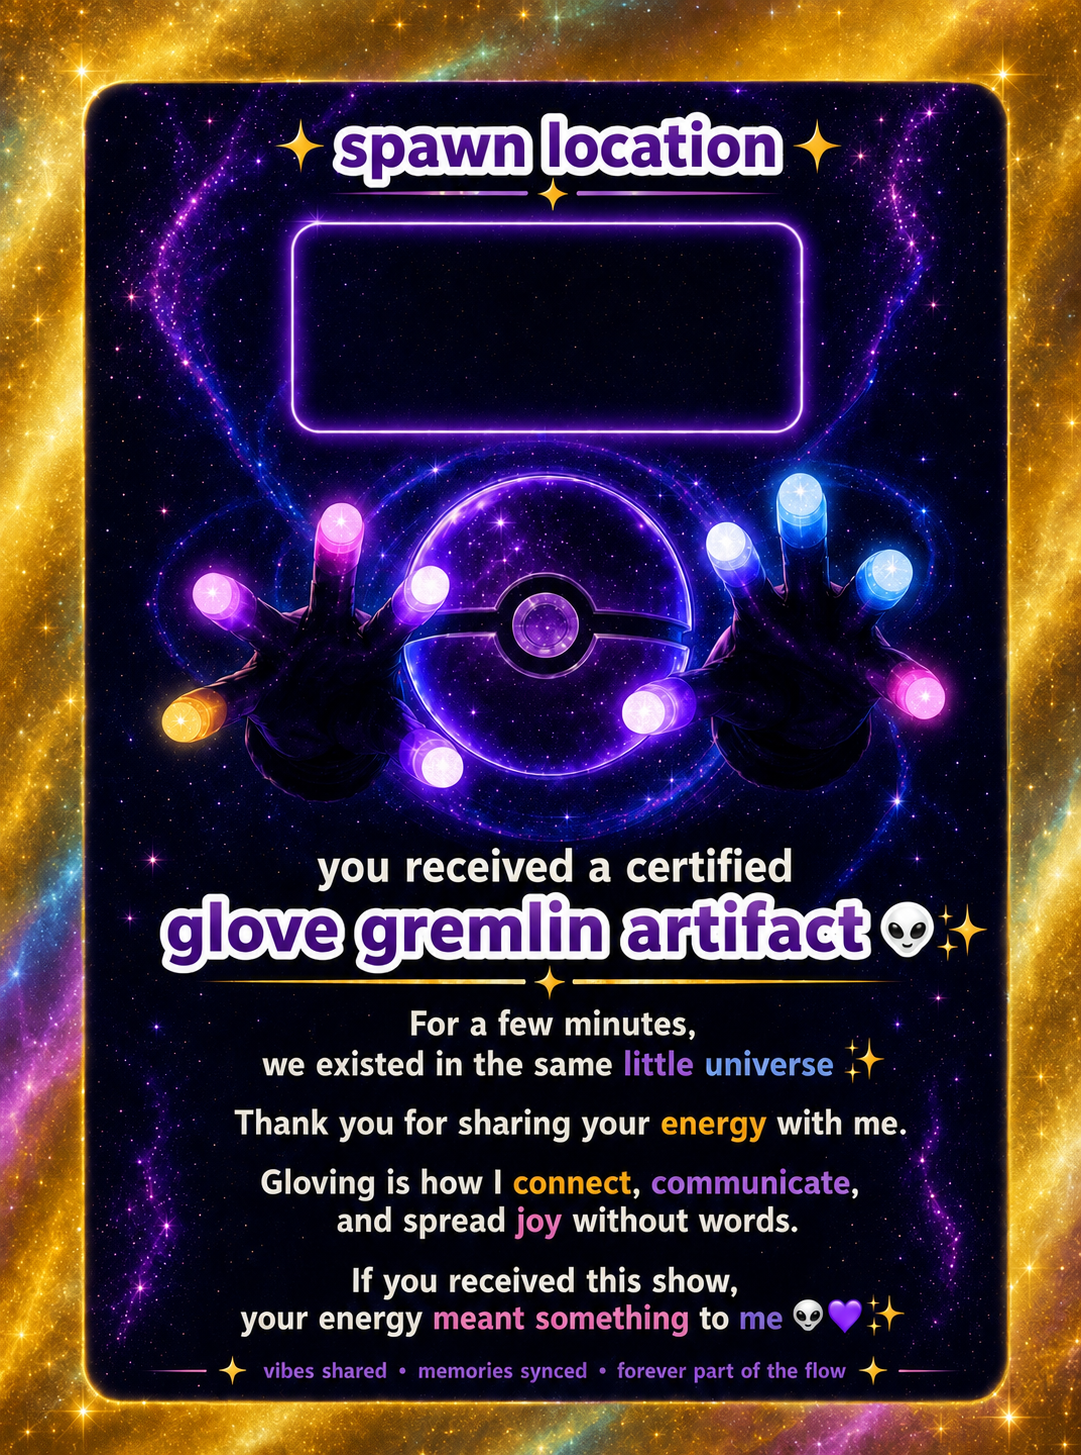
Step 5: Design the back of the card
Now create a matching back for my trading card using the same colors, visual style, border, and 2.5" × 3.5" proportions. I want it to feel like the same card when you flip it over. Include these sections: [describe what you'd like].
My card included a blank "Spawn Location" box that could be customized later. The printer emailed to confirm the blank box was intentional, so call out any deliberate blank areas when you send files to print.
Step 6: Do a real print check
A card can look amazing on a screen and still be hard to read once it is only 2.5" × 3.5". Before adding bleed, check the design at its actual printed size.
Review this design as if it will actually be printed at only 2.5" × 3.5". Make sure small text will still be readable, important text has strong contrast from the background, text over dark areas has a thick enough light outline, nothing important is too close to the edges, and any QR code is large and clear enough to scan after printing. Do not redesign the card; only make adjustments needed for print readability.
This mattered in my physical proof. Dark colors swallowed some of the lettering, so I increased the white outlines around the text. The white text on the back worked especially well against the dark background.
QR Code Tip
If you include a QR code, do not rely on a tiny decorative QR code embedded in the generated artwork. My gradient Instagram QR code did not scan reliably at print size, so the printer used a simpler black-and-white version. Give your printer the QR code separately in the highest-resolution or vector format you can get.
Step 7: Add bleed for professional printing
Once the design itself is finished, ask your printer how much bleed they require. Most professional printers need artwork to extend beyond the trim line so slight cutting shifts do not leave unwanted edges.
This artwork is finished. Do not redesign or change anything inside the finished card. My final trimmed card size is 2.5" × 3.5". My printer requires [insert bleed requirement] of bleed on every side. Extend the existing background and border artwork naturally outward through the entire bleed area. Do not add a solid black or white border. Keep all important text and artwork safely inside the final trim area.
My first bleed had black surrounding the gold border. The printer warned that normal cutting variation could leave little black edges on the finished cards. The better version extended the gold border design itself into the bleed, and the printer confirmed it worked.
Step 8: Send it to the printer and get a proof
Send your front artwork, back artwork, and requested specifications. Then ask for a digital proof before production. If the printer can make a physical or internal proof at actual size, even better.
Card specifications: standard trading card size, 2.5" × 3.5" (63 × 88 mm), rounded corners, full-color front, custom full-color back, high-quality cardstock, holographic or foil finish preferred, and front and back artwork includes bleed.
The physical proof was the most useful part of my process. It revealed contrast issues that were not obvious on-screen, especially after RGB artwork was converted to CMYK for printing. Some dark purples printed darker and with less contrast than they appeared on my phone, so trust the proof over the screen.
The whole flow is: photos, concept, front design, iterations, back design, print check, bleed, printer proof, and then the final holo cards.